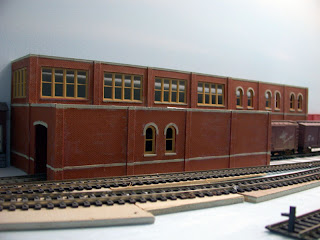
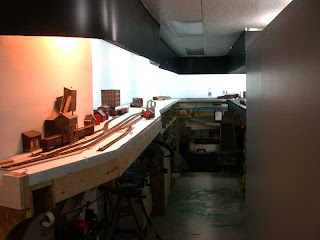
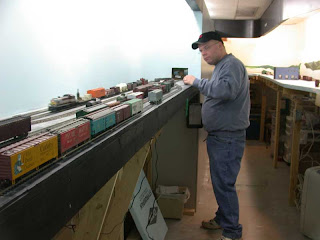
The New Modules – 5th Street District

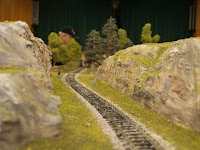
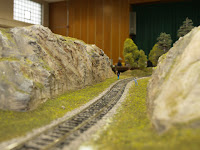
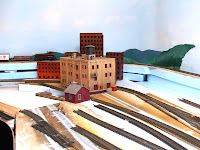
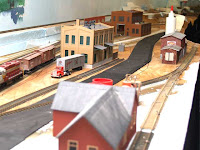
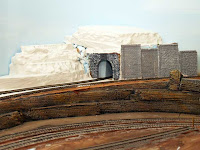
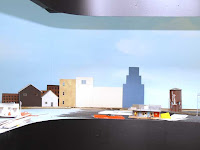
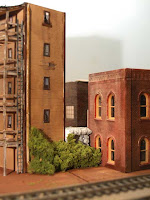
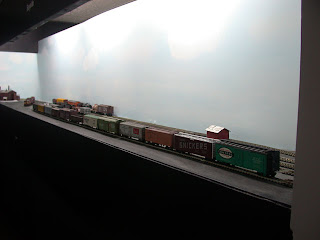
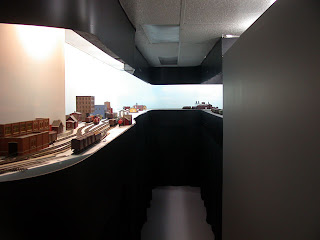
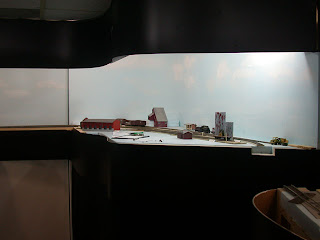
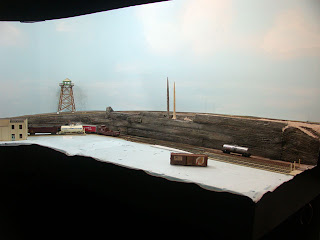
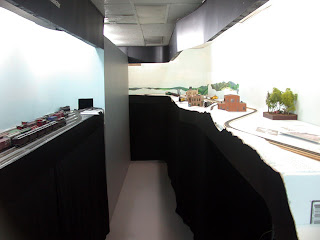
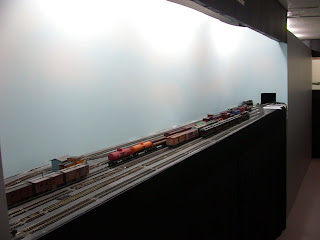
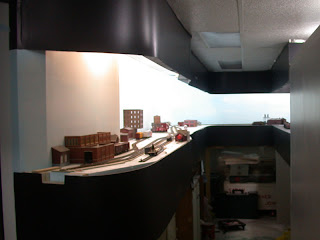
Brin and I have been working the last couple weeks building new modules for the UMG layout. These will replace the old, and tired looking, Hazard Bend module set.

Al introduced me to the track plan for the 3rd Street Industrial District thinking it would make a great module set. I had seen the plan before but hadn’t related it to modules. It looked like it could be possible so Brian and I decided to use it as inspiration. Since it is not an exact reproduction we’re calling our plan “The 5th Street District”.

We started about 2 weeks ago constructing the frames from some old 1/2″ plywood I had in the shed. We had to buy the foam, unfortunately. We used new track and turnouts on the mainline and a mix of new track and recycled track and turnouts from the old modules in the switching area.

The modules certainly aren’t finished by any stretch of the imagination, but trains should run on them just fine. They’ll be in a more presentable condition for the Truro show next fall.

The Moncton show is this Saturday (April 12th). I’ll have some pictures of these modules set up in the UMG layout next week.

Later!

Scott

Lighting – What I Did

There has been lots of discussion on the Yahoo Groups lately about layout lighting. A couple people have emailed me asking about what I did. So, here it is…

ligthing-1.jpgI used regular 4′ fluorescent tubes on my old layout (12’x14′) and was satisfied with the light they provided. However, I was going to have to buy several more 4′ fixtures for the BS&T since it would be a little more than twice as big and I wasn’t looking forward to the outlay of cash for 4′ fixtures. So I decided to use regular, inexpensive fixtures intended for incandescent lights and compact fluorescent lamps (CFL). Using these lights would decrease the amount of heat generated by the lighting. I found Daylight CFL’s at Home Depot at $20 for 6. (Addendum: Here’s a little more information on the CFL’s. They are Phillips Mini Twister 15 watt Daylight. This is the Home Depot page for these bulbs.)
The view behind the valance over Stevenville (above). It’s hard to take a picture of lights without everything else going dark.

A quick check around to the local hardware retailers showed me that Canadian Tire (it’s more than just tires!) had the cheapest price for light fixtures and octagonal boxes (@ $6/light). By code you are not supposed to mount the fixtures without an octagonal box. I decided to mount the lights about every 3′ around the room behind the valance. I probably could have gotten away with every 4′. Total cost for fixtures and lights – less than $10 each.

lighting-2.jpgAnyway, the lights were installed during one of our weekly work sessions. I can’t remember who exactly was there (it’s been almost 2 years) but there was probably 5 or 6 on hand. It didn’t take long to get the bulk of the wiring and fixture installation done. I think I had a half dozen or so to do myself, plus wiring the plug to turn them on and off through the rest of the week.

The photo, above, shows behind the valance over Chappellton.

After the main wiring was done I had to install a new breaker in the main panel. It was the first one I had ever installed and was a little intimidated. There’s a lot of power there to be mucking around with! But the new breaker went in without incident – I was very careful!!! I also tried to do the install as neatly as possible, much like the original electrician did it.

lighting-3.jpgI wasn’t pleased with the amount of light you could see (glare) when you stood at the layout to operate, so I added a strip of 1″x3″ to the inside of the valance under the lighting. This helped to reduce the glare considerably.

You can see the 1×3 (black) near the bottom of the picture. The wire that passes under the fixture in the photo runs to the switch for the lights.

A benefit of the Daylight CFL’s that I hadn’t anticipated is with layout photography. I am able to get quite good results using the available light. I’ve been experimenting lately with depth of field and have found that at F22 I do require a long exposure, so a tripod is required. I am pleased with the color rendition and overall quality of the light without having any supplemental lighting. These pictures are examples.

I hope this post has clearly described what I have done. If you have any questions don’t hesitate to email me.

Scott

BS&T – Live and Plugged In!

As you may already know, I use a Lenz system for locomotive control. Because we mostly use XPA’s and cordless phones for throttles I have not added a throttle bus to the layout, except for a single plug at each yard.

The only reason I had those throttle plugs was for Brian. Before he got his XPA he preferred his LH-90. He also liked working the yards so I installed plugs in the yards so he could work them. He’s gotten to like using a cordless phone after getting his own XPA and, heaven help us, he’s running around the layout more! Watch out!

Over the Christmas holidays my son and his friends wanted to try running trains – the first time they’ve shown any interest. Without the throttles the regulars bring on op nights I needed more throttles. I have an LH-90, but without throttle plugs around the room it was not very useful. So I borrowed Brian’s XPA for a few days. The boys had a great time. My son said he didn’t think it would be as much fun, or as difficult, as it was. They didn’t finish the session the first night so the next day one of my son’s friends asked when he could “complete his mission”. Too much “Call of Duty” for those boys, I think.

Anyway, that got me on the kick of installing throttle plugs around the room for those times when we need to use the old standby throttles. The local dollar stores didn’t have any telephone wall plates, but had lots of telephone extension cables, so $5 later I had all the wire I would need.

plugs-1.jpgI found some nice double outlet wall plates at Canadian tire that would be perfect for about $6 each,. I visited a discount store in Quebec City to browse and found some 5-way telephone connectors. I haven’t seen these in stores in a while so I got 4 at $1.50 each. I knew they’d come in handy for something.

The white wall plates would not match my black fascia so the first thing I did was to remove the wiring part from the back of the plate so I could spray them black .

wiring-2.jpgWhile the paint was drying I installed a couple of the 5-ways under the layout in strategic locations. One was close to where the main throttle bus line comes from the command station so I could connect into it. I ran extension cables to the other 5-way to make it “live”. Then ran extension cables from those to where I’d install the wall plates.

I cut the extension cables so that I would get two runs of cable from each 5-way to the wall plates. The cut ends were used at the screw terminals of the wall plates. Fortunately, I only had one run where the remaining cable was not long enough for another run. Each plug on the wall plate was separate so I had to wire them together and used the excess cable for this purpose.

Regular telephone extension cable (the ones with male plugs on each end) are not wired properly to be useful for XPressNet (Lenz’s wiring scheme). The plugs on each end are wired opposite to one another (twisted), while Lenz’s scheme requires both plugs to be wired the same (straight). So when it came time to connect the wire to the plugs one length of the extension cable would be attached color for color (black, red, green, yellow) and the other section would be the reverse (black to yellow, red to green, green to red, and yellow to black). I had to experiment to see which way the wires went before making anything to permanent. One way the LH-90 would work, the other it wouldn’t. It seems you can’t damage anything with incorrect wiring – Yay!

plugs-2.jpgI ran into a problem in Kenville. There is a 1″x3″ behind the 5-1/2″ fascia that I didn’t want to cut into to install the plugs. I visited the only other dollar store in town that I hadn’t been to previously and found some telephone wall plugs with a rectangular inset plug. I cut some neat holes in the fascia, below the 1″x3″, just the right size and epoxied the inset portion into the opening. I just have to paint around the edges to blend them in. That will get done before operating on Sunday.

Later!

Scott
Module in a Week – Conclusion

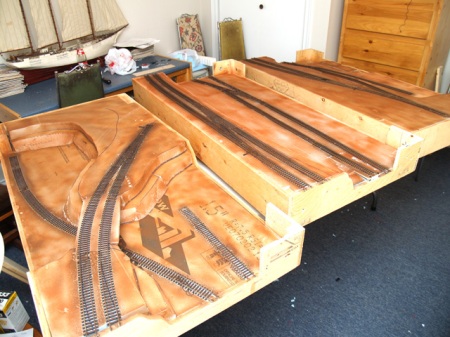
Well, as you know I was building a new module to take to the Truro show last week. I was so busy between work, Kim’s Crafts, and the module that I didn’t get any time to post any updates on it.

I didn’t quite get the module done, but it was done enough that I felt okay about including it in the UMG layout. The frame wasn’t painted, and there was a little bit of blue foam showing through near the tracks, but overall it looked pretty good.

Since this was being used as an EoE (End of Earth) in the layout, there are a couple Railway employees warning oncoming trains that there is a hazard ahead. They set fusees a little farther up the line just to be certain. I don’t see any blue flags though.

There’s obviously more work to be done on the module. I’ll leave that until the week before the Moncton show next spring.

Scott

A Module in a Week

Well, I was going to post some pictures of a module I started working on last Saturday, but apparently the memory card in my camera has gone corrupt. Hopefully it is not the camera! The images are all scrambled.

Anyway, my plan (hope) is to have a module ready to take to the Truro show on Friday. Yes, 2 days away.

The module will be a new End of Earth (EoE) replacement for our Spring Valley set. It will also function as a run through module if required. I plan to model some sort of obstruction on the tracks, like a rock fall, that will turn it into an EoE.

I built the 2′ x 3′ frame last Saturday and glued the foam to it on Sunday and Monday. Last evening I shaped the foam into hills and rocks and applied a coating of plaster. This evening will be grass, track and ballast, I hope. If I don’t get all that done this evening I still have one more evening to finish and still have time for the glue to dry.

It won’t be the first time we’ve taken a module to a show with the glue still drying!

I’ll get a new memory card so I can get some pictures at the show.

Scott

Crew Lounge – Part Two

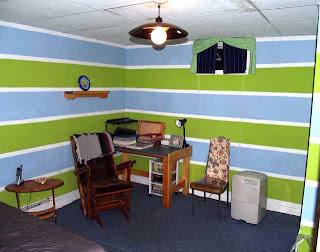
Well, I finally finished painting the room on Saturday evening. What a job it was trying to cover up those ugly stripes! (Sorry Kristopher)

So, here is the before picture as a reminder…

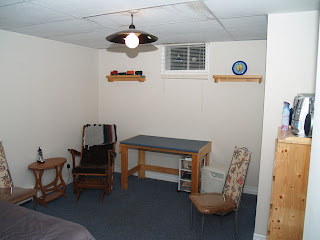
And here is the after picture…

It looks much better I think. Now, I just have to be patient while I try to collect some appropriate furnishings – we want the room to be used as a guest room so we’ll be looking for a sofa/bed or futon. And I’d like to have a few more “comfy” chairs.

Now, we do have a few usage conflicts. Kim wants to move the computer here from our bedroom, and John wants to set up a recording studio in the room. So I’m going to have to get really creative with storage and workspace solutions really quick.

Later!

Scott
Roundy, roundy

One thing I like about looped layouts is that when you have someone in to visit you can start a train moving and let it run unattended – at least until a derailment happens. I have not been able to do that on the Bayside and Tidewater, until now. The loop track was completed last Thursday evening. This track also provides access to the layout from staging. Trains from “points east” must run 1.5 times around the layout, roughly 100′, before reaching Tidewater. I’ll try to employ some scenic separation ideas and hidden track to disguise the fact that it’s going through a scene twice. Derwin completed the staging yard last evening.

The picture below shows the new location for Chappell Seafood. You can see the loop track running behind Chappell Seafood. I’ll use buildings through Chappellton to hide the loop track as much as possible. The area just in front of Chappell Seafood is the yard storage and warf for the new barge. The harbour will be to the left of Chappell’s.

Turning 90 degrees, you can see some of the other changes in Chappellton. Der-Win Coal and Oil is in the foreground. The lead track for it is also the storage track for Naylor’s Nails. That should make for some blue language during operations. :-).

The two storey building with the truck parked at it is Fred-Ex and behind that is Fixum Car Repair.

The disguised hole in the wall is the entrance to staging. Behind this hole is a 5 track, 6 foot long, staging yard. It’s a little small, but we’ll be able to make do.

The building flats at the far end of Stevenville hide the loop track as it rises up into the city. Clayton made these up as fillers for the city, but I think they may work out just fine here.

There have been so many things to do that I only do a little bit here are there. So there’s not a huge amount of change in any one area. You can see that I have done a little scenery work around the tenement building.

Until next time!

Scott

The room is tidy looking, at least – May 9, 2006

Another month has gone by with very few changes. The room does look a bit tidier finally with the addition of the curtain to hide all the junk. The following pictures follow around the room to give you an idea of what little I’ve been up to in the last month.

Bayside Yard

Stevenville

Derwin’s Drop

Kenville

I did get some scenic work done on the grade from Kenville to Derwin’s Drop. I’m not too happy with it yet, but lots of people tell me the rock face looks like the Canadian Shield area of Ontario.

Chappellton (right) / Tidewater Yard (left)

On the far right is the only bit of green on the whole layout. It is an entry I made in a 64 sq. in. contest a while ago. The idea was to build a 64 sq. in. diorama based on a theme – this one being “Trees”. I called mine “Still Life” since it had a moonshine still in a grove of trees.

Tidewater Yard

That’s it for this entry.

Later,

Scott

Slow Progress – April 9, 2006

It’s been almost a month since my last photos were taken and not much has changed on the layout – so this will be a quick post.

There is a replacement structure at Dickie Clothing Company in Stevenville, and Chappellton trackage has been rearranged a few times. I’m not really happy with Chappellton. I just can’t decide how I want it to look. Oh well, it’ll come to me eventually.

I made this structure for Dickie Clothing using a DPM Bulk pack that I picked up from a retailer getting out of model railroad stuff. I made this building and a large storefront from the same pack. I used cardstock for unseen portions of the structure to make the walls go farther.

Later,

Scott

The Big Shock! – March 26, 2006

What’s the big shock, you ask? We are operating on the new layout less than two months after starting destruction of the old layout. We had the first operating session on the BS&T on March 26, 2006. There’s still lots of things to do, and problems that need to be repaired, but trains are moving. Actually the first several sessions will be “break in” sessions to work out track and operations issues.

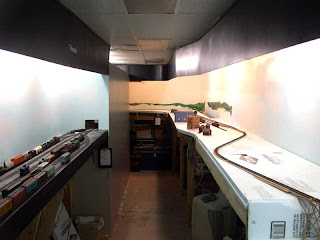
Anyway, here is the view looking east to Stevenville. I still have the cheap dollar store CF bulbs. Those will be replaced soon. I have a few of the buildings from the old layout scattered around, but it’s going to take a whole lot more to complete this layout. The few that I do have look pretty measly.

This is a westward view toward Chappellton. Tidewater Yard is on the left. I’m not sure what the scenery will be on this side. The curved section on the right may go around a hill to visually separate Chappellton from Kenville. I wasn’t exactly happy with the track arrangement in Chappellton. I’ll have to work on that.

The Tidewater transfer is arriving in Tidewater Yard. Derwin did a fairly good job of keeping this yard running smoothly through the session – especially considering it’s the first time the yard has been operated. Oh, and the fact that it is Derwin makes it doubly surprising! Ha!

Next time – a few more buildings, the fascia, and a start on “scenery”.

Scott